How We Fix a Stripped Pentair Filter Clamp Bolt Safely
Stripped clamp bolt on your Pentair pool filter? Learn when you can safely fix the threads and when it’s time to replace the whole band clamp.
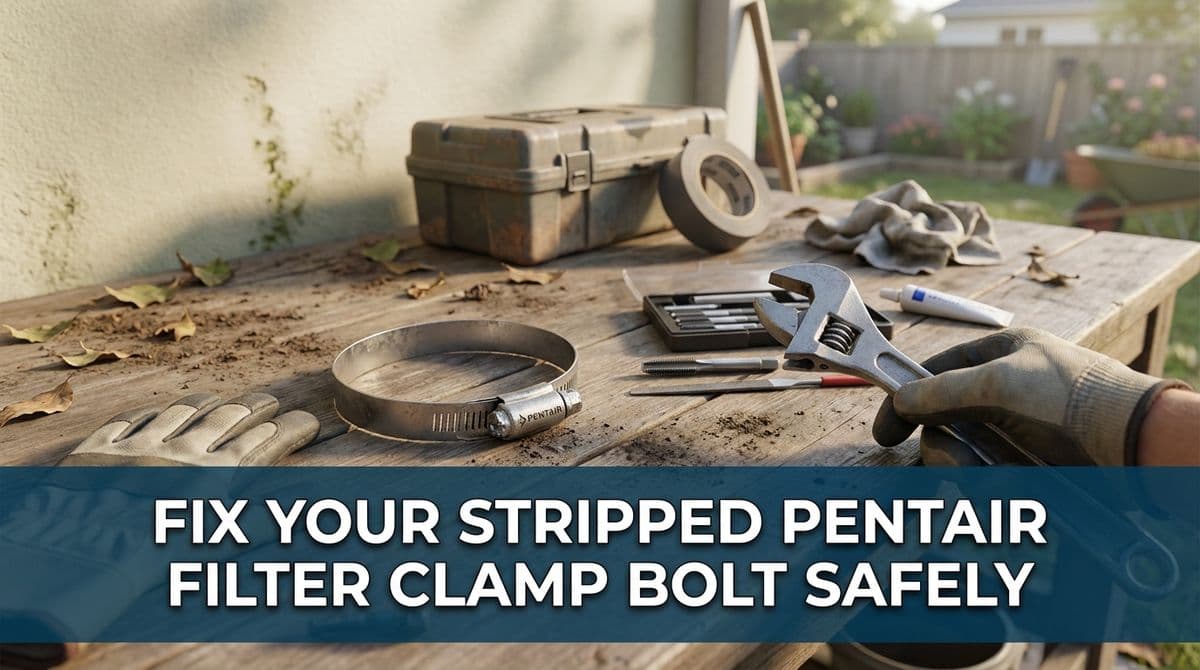
When a Simple Filter Cleaning Turns Into a Stripped Clamp Bolt
We recently got a call from a homeowner — let’s call him Mark — who was just trying to do a routine filter clean on his Pentair Clean & Clear Plus 420. He pulled the band clamp off, cleaned the cartridges, and when he went to put everything back together, the clamp nut wouldn’t thread back onto the bolt.
Mark did what a lot of handy homeowners do: he drove to the pool store, bought a new nut, and tested it right there in the aisle. Same problem — the new nut wouldn’t go on either. That’s when he realized the threads on the clamp bolt itself were likely damaged or packed with debris.
We hear this kind of story all the time. The good news is: a stripped or gunked-up clamp bolt on a Pentair filter can often be fixed without buying a whole new band. But sometimes replacement really is the safer, smarter move. In this post, we’ll walk through how we approach it and what we recommend homeowners do.
Why Clamp Bolts and Nuts Strip on Pentair Filters
On Pentair Clean & Clear Plus and similar models, the center band clamp is what holds the two halves of the filter tank together under high pressure. The bolt and nut on that clamp are usually a brass or stainless/brass combination. Over time, a few things happen:
- Debris and scale build up in the threads (sand, calcium, dirt, old lubricant).
- Over-tightening can slightly deform the threads.
- Cross-threading the nut when you’re in a hurry damages the first few threads.
- Corrosion can eat away at the metal if water sits on the hardware.
All it takes is a little damage or debris for the nut to feel like it’s “stripped” and refuse to go back on. That was exactly what we suspected in Mark’s case.
First Step: Clean and Inspect the Threads
Before we ever recommend replacing the entire band (which can run into the low hundreds of dollars), we start with a simple clean-and-inspect process. This is something careful DIYers can try as well.
1. Remove the Band and Hardware
Shut off the pump, relieve all pressure from the filter with the air relief, and make sure the system is fully depressurized. Only then should you loosen and remove the clamp band, bolt, and nut. Lay the band on a clean surface so you can really see the hardware.
2. Use a Wire Brush to Clean the Bolt
Often we find the “stripping” is really just built-up debris. We use a small wire brush and scrub the bolt threads all the way around, paying special attention to the first 5–6 threads near the end. A homeowner can pick up a wire brush at any hardware store for a few dollars.
After brushing, we like to wipe the threads with a clean rag and, if needed, a little water or mild cleaner to remove loosened debris. Let it dry before testing the nut again.
When You Need a Threading (Tap and Die) Tool
Sometimes cleaning isn’t enough. That’s when we reach for a tap-and-die set — what Mark called a “die-cut kit.” This is absolutely a real thing, and we use it all the time to clean up damaged threads.
3. Re-cut or Chase the Threads
In our shop, we select the correct die size for the clamp bolt and lightly run it down the threads. The goal isn’t to remove a lot of metal; it’s just to “chase” and straighten what’s already there. A light oil can help the die move smoothly.
Homeowners can buy a basic tap-and-die kit from places like Harbor Freight for around $15–$30. If you’re comfortable with tools and follow the instructions carefully, you can often save a clamp this way. But if you’re unsure, it’s safer to bring the clamp to a pool shop like ours and let us do a quick evaluation.
4. Test with a New Nut
After chasing the threads, we always test with a new OEM nut. If the nut threads on smoothly by hand for several turns without binding, that’s a good sign. We never force it with a wrench at this stage. If it doesn’t start by hand, the bolt may be too far gone.
When It’s Time to Replace the Whole Band Clamp
Even with good tools, there are times where we tell homeowners, “It’s not worth saving this clamp.” Here are the red flags we look for:
- Severely flattened or missing threads on the bolt.
- Cracks or bending in the band itself.
- Visible rust or deep corrosion on the hardware or band.
- Clamp has already been ‘repaired’ once and is acting up again.
On Pentair Clean & Clear Plus 420 filters, a new OEM band clamp typically runs in the low-to-mid $300 range (pricing varies by area and vendor). That’s not pocket change, but considering the clamp is what keeps a high-pressure vessel sealed, we would rather see a homeowner replace it than risk a failure.
In Mark’s case, we had bands in stock and let him know his options: we could attempt a thread repair, or he could replace the whole assembly. We walk a lot of homeowners through the same decision: if safety is in question, we lean toward replacement.
How Tight Is Tight Enough? Common Clamp Mistakes
We also see a lot of damage caused by how the clamp is used, not just age. Here are mistakes we encourage homeowners to avoid:
- Over-tightening the nut: Cranking down as hard as possible can deform the band and bolt. Follow the manufacturer’s torque recommendation if you have a torque wrench, or snug the nut evenly until the spring (if present) is compressed to the spec in your manual.
- Uneven seating: If the band isn’t centered and evenly seated around the tank seam, tightening the bolt can twist or stress the hardware.
- Ignoring resistance: If the nut starts to bind or feel gritty, stop. Back it off, clean the threads, and try again. Forcing it can ruin the bolt.
- Reusing a clearly damaged nut: A cheap nut can wreck a more expensive bolt if the nut’s threads are deformed.
How Often to Inspect Your Filter Clamp and Nut
We suggest homeowners give the clamp assembly a quick inspection every time they clean the cartridges, which for most pools is about every 3–6 months depending on usage and debris load.
During that inspection, we recommend:
- Checking the band for rust, cracks, or warping.
- Looking at the bolt and nut for rounded corners or damaged threads.
- Making sure the clamp seats evenly all the way around the tank seam.
- Listening for any hissing or leaking when the system first starts up after reassembly.
Catching clamp issues early usually means a simple cleaning or a $10–$20 part instead of a full band replacement.
DIY vs. Calling a Professional
We’re big fans of homeowners learning how their equipment works, and a lot of people can safely handle a clamp cleaning or a nut replacement. But there are times when we strongly recommend bringing in a pro:
- You can’t get the nut to start by hand without binding, even after cleaning.
- The clamp doesn’t seem to seat evenly around the tank.
- You hear air or water leaking from the seam when the pump is running.
- You’re not comfortable depressurizing the system or working around high-pressure equipment.
In our shop, it usually takes us just a few minutes to evaluate a clamp and either clean up the threads or confirm that replacement is the safest route. For the cost of a quick inspection, you get peace of mind that your filter is sealed correctly.
Need Help With a Pentair Clamp That Won’t Tighten?
If you’re staring at a Pentair clamp bolt that refuses to take a nut — just like Mark was — you may not need a whole new filter or even a new band. Sometimes it’s as simple as a thorough cleaning and a quick pass with the right threading tool. Other times, replacing the band is the best way to protect your pool equipment and your family’s safety.
Either way, we’re always happy to take a look, walk you through your options, and help you decide if it’s a DIY fix or a job better left to us.