Why Pool Plaster Patches Don’t Match Your Pool Surface
DIY pool plaster patches often turn into bright blue “polka dots.” Learn why patch colors rarely match older finishes and what to know before you use a repair kit.
Why That New Pool Plaster Patch Looks So Blue
We recently got a call from a customer — let’s call him Mike — who had just used a Caribbean blue EasyPatch kit he bought from our store. He told us he followed the directions, the material went in smoothly, and when it was dry, it looked pretty close to what he’d seen on our sample board.
Then he started filling the pool.
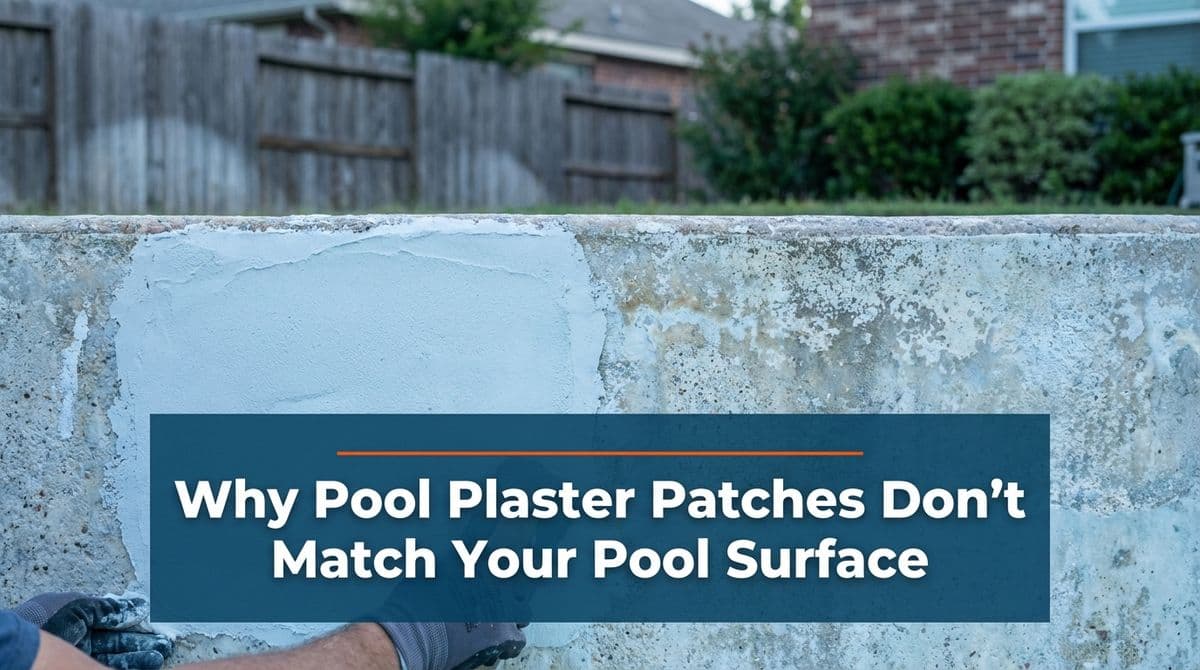
As the water level rose, Mike watched his nice, light-looking repairs turn into bright blue polka dots all over his pool. The dry patches had looked pale, but underwater they turned super blue. It didn’t look anything like our display card or the rest of his older quartz surface, and he called us asking, “Is this normal? Is it going to lighten up?”
We hear some version of Mike’s question a lot, so we want to walk through what’s really going on when pool plaster patch colors don’t match — especially with DIY repair kits.
Why Patch Kits Rarely Match an Older Pool Surface
In our experience, the biggest surprise for homeowners is that the color they see in the jar or on the board is brand-new material, while their pool surface is years (or decades) old. Even if the product name is the same, they’re not starting from the same point.
Here are the main reasons we see patches stand out:
- Fading from sun and chemicals: Your original plaster or quartz finish has been sitting in the Arizona sun and pool water for years. UV, chlorine, pH swings, and general wear all lighten and soften the original color over time. A new patch is its full, factory-fresh color on day one.
- Water changes how color looks: Mike noticed his patch looked fine dry, but turned bright blue as the pool filled. That’s normal. Water deepens and darkens colors, especially blues and teals. A patch that looks like a close match in air can look much stronger once it’s underwater.
- Batch and formula differences: Even within the same product line, there can be slight differences between production batches. Add in variations in how much water is mixed, how long it’s troweled, and how it cures, and you can easily get a visible mismatch.
- Texture and aggregate: Many modern finishes (like quartz or pebble) aren’t just one solid color — they’re a blend of white cement and colored stones or flakes. A DIY kit may have a similar base color but a different density, size, or distribution of those aggregates, so the surface reflects light differently.
“Will It Fade and Blend In Over Time?”
One of Mike’s big questions to us was whether his patch would lighten up. Based on what we see with these products, the honest answer is: usually, it will fade some — but probably not to a perfect match.
Here’s what typically happens after a fresh patch:
- The bright blue softens: As the surface is exposed to sun and water chemistry, the intense color usually calms down. That can make the patch less jarring over the first few months.
- The contrast is still visible: Your original surface is already “aged.” Even if the new patch fades, it’s aging on a different timeline than the rest of the pool, so you’ll usually still be able to spot it, especially in clear midday light.
- Different viewing angles matter: We often see patches look obvious when you’re standing on the deck looking straight down, but much less noticeable when you’re in the water or viewing the whole pool from a distance.
So yes, in most cases what Mike is seeing — bright, blue “polka dots” at first — is normal. Over time they’ll likely soften, but we don’t like to promise that they’ll disappear.
Common DIY Patch Mistakes That Make Color Mismatch Worse
When customers show us photos of patch jobs they’re unhappy with, it’s rarely just the product color. It’s usually a combination of color and application. From what we see, these are the most common DIY issues:
- Wrong shade or product type: Picking based purely on the name (“Caribbean blue”) without comparing carefully to the wet look of your pool can backfire. Our sample boards are a helpful guide, but they’re still only an approximation of your exact surface.
- Overfilling the repair area: Thick, raised patches catch light differently and create a darker-looking spot. Even if the color is close, the profile makes it stand out.
- Poor surface prep: Dust, algae, or weak, flaking plaster underneath can prevent a smooth bond. That can leave rough or mottled areas where the color seems inconsistent.
- Inconsistent mixing: A little too much or too little water, or not blending the kit thoroughly, can change the final shade and texture compared to the intended color.
- Wrong cure time before filling: Some kits can be applied underwater; others need a certain dry time. Filling too early or handling the patch too much during cure can affect both appearance and durability.
We always encourage homeowners to read the instructions twice, lay out all tools, and do one small test repair in a less visible spot before tackling high-visibility areas like steps or shallow ends.
DIY Patch Kits vs. Professional Resurfacing
Because we don’t personally resurface pools — we just supply the materials and answer questions — we try to be very clear about what these kits are really for. They’re a good tool, but they’re not a magic “make it look brand new” button.
-
DIY patch kits are best for:
- Small chips, cracks, or pop-offs where you can clearly see the substrate.
- Stopping leaks or exposed areas from getting worse.
- Buying time before a full replaster or new finish.
-
Professional resurfacing is better when:
- There are patches everywhere, and the whole pool looks spotted.
- The plaster is rough, stained, or delaminating across large areas.
- You care more about a uniform, “like-new” appearance than a basic repair.
We’ll happily sell you a patch kit, but we’ll also be upfront: if you’re already frustrated by mismatched color in several spots, it may be time to talk to a surface specialist about a full refinish instead of chasing a perfect patch match.
How We Help Customers Choose (and Use) Patch Kits
When someone like Mike walks into our shop or calls us with a surface issue, we try to set expectations before they open the package. Here’s how we usually guide people through the decision:
- We start with photos: We ask customers to bring or text clear pictures of the damaged area and a few wider shots of the pool. That helps us see how old the finish looks and how big the problem really is.
- We compare to our boards — with caveats: We’ll hold the sample up and explain that what they’re seeing is “day one” color, while their pool might be 10–15 years old. We often say, “This will probably look a bit brighter than what you have now.”
- We talk through visibility: If the damage is on a main step or a tanning ledge, we warn that any patch will likely be noticeable, even if it’s technically a good repair.
- We go over prep and mixing: We’ll walk through the basics: chisel out loose material, clean thoroughly, follow the water measurements, and work in the shade if possible so it doesn’t dry too fast.
- We suggest a “test” mindset: For first-timers, we encourage trying one small, less-visible area first. If they hate the way it looks, they haven’t committed to patching the whole pool that way.
That simple conversation upfront can save a lot of surprise and frustration later — and it makes calls like Mike’s easier to talk through, because we’re all on the same page about what these kits can and can’t do.
Before You Open That DIY Pool Surface Repair Kit
If you’re standing in your backyard staring at chips or pop-offs in your pool, a DIY kit can absolutely be the right move — as long as you go in with realistic expectations.
- Assume the patch will be more visible than you hope, especially at first.
- Plan for some color difference underwater, even if it looked close when dry.
- Use patches to protect and stabilize your surface, not to perfectly “erase” every flaw.
- If you’re already seeing “polka dots” all over, start thinking about full resurfacing instead of more patching.
And if you’re not sure what product to use, how many kits you need, or whether a DIY patch even makes sense for your pool, reach out. We’re always happy to look at photos, share what we’ve seen from other homeowners like Mike, and help you choose the approach that fits your pool, your budget, and your expectations.